Overview
The sources for the following 9 projects have been organized into NetBeans projects.
In the case of the following five projects, all
you have to do is download them (they're included with the OpenJDK sources), open them in the IDE, and use the
Build Project command to build them.
- Javac Compiler. This project works with the source
code for the Java programming language compiler, javac, which
compiles Java source code into bytecode class files.
- Javadoc. The sources in this project involve the javadoc tool, which parses the declaration and documentation comments in a set of Java source files and
produces a set of HTML pages describing the classes, interfaces, constructors, methods, and fields.
- JConsole. The sources in this project cover JConsole. JConsole is a GUI monitoring tool that complies to the JMX specification.
The JConsole API provides a programmatic interface to access JConsole.
- JMX. The sources in the JMX project cover the Java Management Extensions (JMX) API, which is a standard Java API for
management and monitoring of resources such as applications, devices, services, and the Java virtual machine.
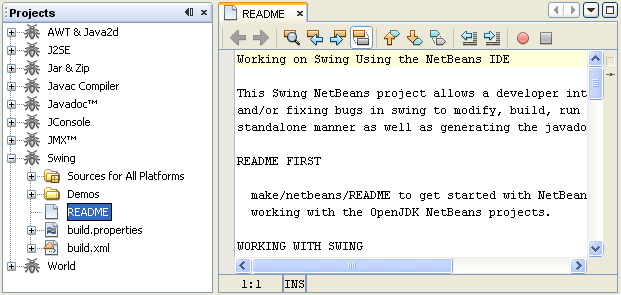
- Swing. The sources in this project address the all-Java Swing user interface components.
The following four projects, also included with the OpenJDK sources,
require the use of a Make utility in order for you to build them:
- AWT & Java2d. The sources in this project cover the Abstract Window Toolkit (AWT), which supports
graphical user interface programming, and Java 2D, which is a set of classes for advanced 2D graphics and imaging.
- Jar & Zip. The sources in this project address the ZIP format, supported in the java.lang.zip APIs.
They also cover the JAR APIs and JAR tool.
- J2SE. The sources of this
project build the Java SE workspace, which is, basically,
all of Java SE except Hotspot. The latter is provided
by the "World" project, described below.
- World. The sources in this
project build Hotspot and Java SE.
To build the Hotspot
VM from sources, you will need Sun
Studio compilers. Detailed
instructions can be found
in this article:
Using OpenJDK HotSpot with NetBeans C/C++ Development Pack.
Note: For the above four projects, the instructions in these tutorials have
been optimized for Linux distributions and for OpenSolaris. For details,
see Setting Up an Environment for the NetBeans Make-Based OpenJDK Projects.
The sources for JavaHelp, the
Java help system, are also available.
When encountering problems of any kind,
please consult the Troubleshooting Guide.
Getting the Sources
- Download the source ZIP file
and unzip it to any location on your computer.
Note: Make sure the project location does not contain a space in the path. For
example, do not use the Documents and Settings folder on Windows machines.