>> More NetBeans Ruby Documentation
Creating a Ruby Weblog in 10 Minutes
Contributed by Brian Leonard
| June [Revision number: V6.0-2]
|
|
|
This tutorial describes how to create a blog in less than 10 minutes.
This tutorial runs with NetBeans IDE 6.0 (M10) with Ruby support.
Contents
Tutorial Requirements
This tutorial requires the following software:
- Java Standard Development Kit (JDK) version 6.0
- NetBeans IDE 6.0 (M10) with Ruby support
Setting Up
-
Copy the
derbyclient.jar (jdk1.6.0_home/db/lib/derbyclient.jar) into your jruby lib directory (NetBeans_install_dir/ruby1/jruby-1.0/lib).
Creating the Ruby on Rails Project
- In the NetBeans IDE, choose File > New Project.
- Select Ruby in the Categories field and Ruby on Rails Application in the Projects field and click Next.
-
Type
RubyWebLog in the Project Name field and click Finish.
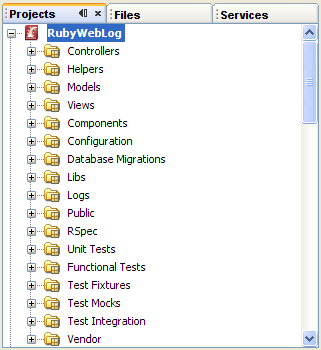
Explore the Projects window. As shown in the following figure, the Projects window groups items by category. Expand each of the nodes to see what type goes in each category.
Configuring the Database
- In the Projects window, expand the Configuration node.
- Open
database.yml.
-
In database.yml, delete the default database configuration under development: and replace it with the following configuration:
Code Sample 1: Development Database Configuration in database.yml |
  adapter: jdbc
  driver: org.apache.derby.jdbc.ClientDriver
  url: jdbc:derby://localhost:1527/sample
  username: app
password: app |
Make sure that you use the correct format shown in Code Sample 1. If you use tabs,
you might encounter an error when you migrate the database.
-
Open environment.rb and insert the following code above the line that reads Rails::Initializer.run do |config|:
| Code Sample 2: Ruby Code |
if RUBY_PLATFORM =~ /java/
  require 'rubygems'
  RAILS_CONNECTION_ADAPTERS = %w(jdbc)
end
|
-
Open the Services Window, expand the Databases node and check if the Sample {app on APP] database is connected.
If the jdbc node for the Sample database's badge is broken, the IDE is not connected to the database. To connect to the Sample database,
right-click the jdbc node for Sample and choose Connect from the pop-up menu. If the Connect dialog box appears, enter app for the Password, select Remember Password During This Session, and click OK.
Creating the Model
In this section you use the Rails Generator to create a migration.
A migration is a way of using versioning to track the changes to your database.
- Switch back to the Projects window, right-click the Models node, and choose Generate.
-
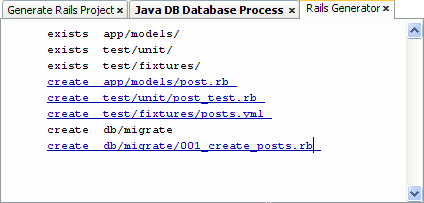
In the Rails Generator dialog box, type Post in the Arguments field and click OK.
A migration, 001_create_posts.rb, is created for you as part of the model generation:
- Expand the Database Migrations > migrate node and open
001_create_posts.rb.
-
Add the title column (shown in bold) to the up method as shown in the following figure:
Code Sample 3: Code for 001_create_posts.rb |
class CreatePosts < ActiveRecord::Migration
  def self.up
    create_table :posts do |t|
      t.column "title", :string
    end
  end
  def self.down
    drop_table :posts
  end
end
|
The self.up method executes when you run the database migration.
The self.down method runs when you stop the database. The
self.down method rolls the database back to a previous version.
-
In the Projects window, right-click the RubyWebLog node and choose Migrate Database > To Current Version.
This action runs the database migration. The output window indicates when CreatePosts has been migrated. Following are
corrections for some common errors:
-
org.jvyamlb.ScannerException: ScannerException null, mapping values are not allowed here.
A problem exists in the format in the database.yml file. Check if you used a tab for indentation.
The driver encountered an error: cannot load Java class org.apache.derby.jdbc.ClientDriver.
Verify that you copied the derbyclient.jar file
as described in Setting Up.
-
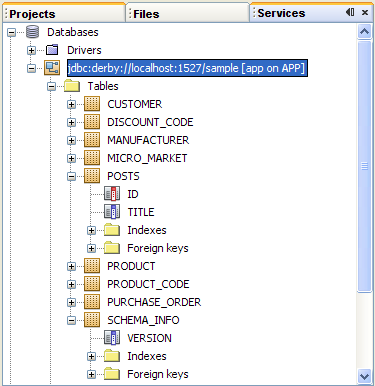
Switch to the Services window and expand the jdbc > Tables node to see the generated posts table and associated schema_info table.
If you do not see the new entries, right-click the Tables node and choose Refresh.
Using a Scaffold
In this section, you use the Ruby on Rails scaffold feature.
Scaffolding provides the basic interface for creating, editing, viewing, and destroying entries in the blog.
-
Switch back to the Projects window, right-click the Controllers node and choose Generate.
- In the Rails Generator dialog box, type
Blog in the Name field. Leave the Views field blank. Click OK.
-
Add the following code, which provides a simple CRUD application around the model, to blog_controller.rb:
Code Sample 4: Code for blog_controller.rb |
class BlogController < ApplicationController
  scaffold :post
end
|
-
Under the Configuration node, open routes.rb and add the following code before the final end statement:
map.connect '', :controller => "blog"
-
Expand the Public node and delete index.html.
Now the blog loads automatically when you run the application.
-
Click the Run Main Project button in the toolbar to start the WEBrick server and launch the browser.
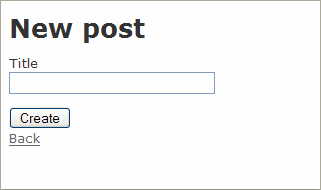
Following is the first page of the application.
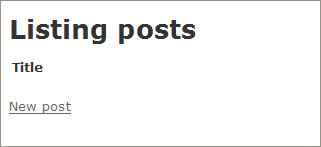
Click New post.
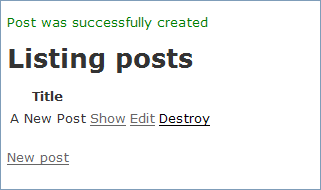
Enter a title and click Create.
Following is an example blog listing.
Migrating Forward
Here you change your data model by adding another migration, which adds a body to the editing page.
-
Right-click the Database Migrations node and choose Generate. In the Rails Generator dialog box, type AddBody in the Arguments field and click OK.
Ruby creates a versioned migration script called 002_add_body.rb.
-
Modify 002_add_body.rb as follows:
Code Sample 5: Code for 002_add_body.rb |
class AddBody < ActiveRecord::Migration
  def self.up
    add_column 'posts', 'body', :text
  end
  def self.down
    remove_column 'posts', :body
  end
end
|
-
Right-click the RubyWebLog node and choose Migrate Database > To Current Version.
-
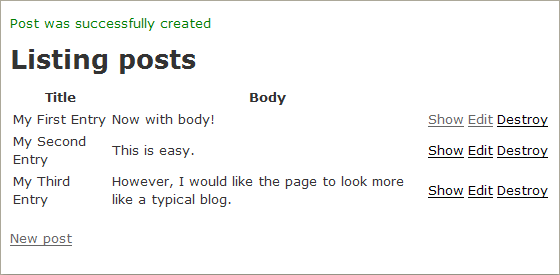
Return to the browser and click the Edit link to see how Ruby recognizes the new body field.

Click Back to return to the Listing Posts page and create a few more blog entries. For example:
Making the List Look More Like a Blog
This far, scaffolding has created a basic CRUD application that enables you to easily test the model. Here you generate scaffolding that you use as a base for modifying your user interface.
- In the Projects window, right-click the Views node and choose Generate.
- In the Rails Generator dialog box, choose scaffold from the Generate drop-down list.
- Type
Post in the Model Name field and Blog in the Controller Name field.
Leave the Actions field blank. Click OK.
-
Expand Views > blog and open list.rhtml. Delete the <h1> and <table> tags and replace them with the following code:
Code Sample 6: Code for list.rhtml |
<h1>The Ruby Blog</h1>
<% @posts.each do |post| %>
  <h2><%= post.title %></h2>
  <p><%= post.body %></p>
  <small> <%= link_to 'Permalink', :action => 'show', :id => post %></small>
  <hr>
<% end %>
|
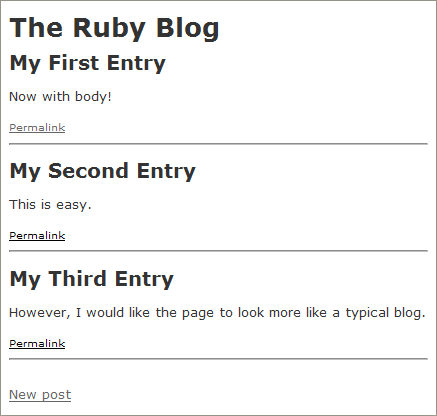
Save list.rhtml and refresh your browser.
-
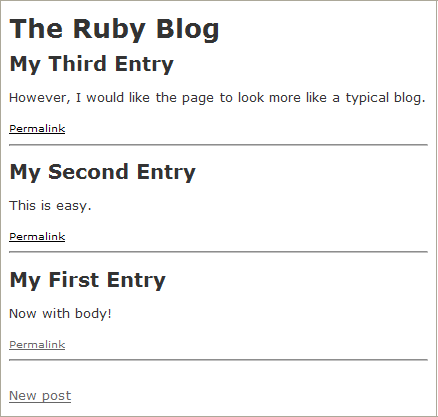
To display the blog with the most recent entry first, reverse the sort order by adding .reverse to the end of @posts in list.rhtml:
<% @posts.reverse.each do |post| %>
When you save the file and refresh your browser, the blog displays as follows:
See Also:
>> More NetBeans Ruby Documentation